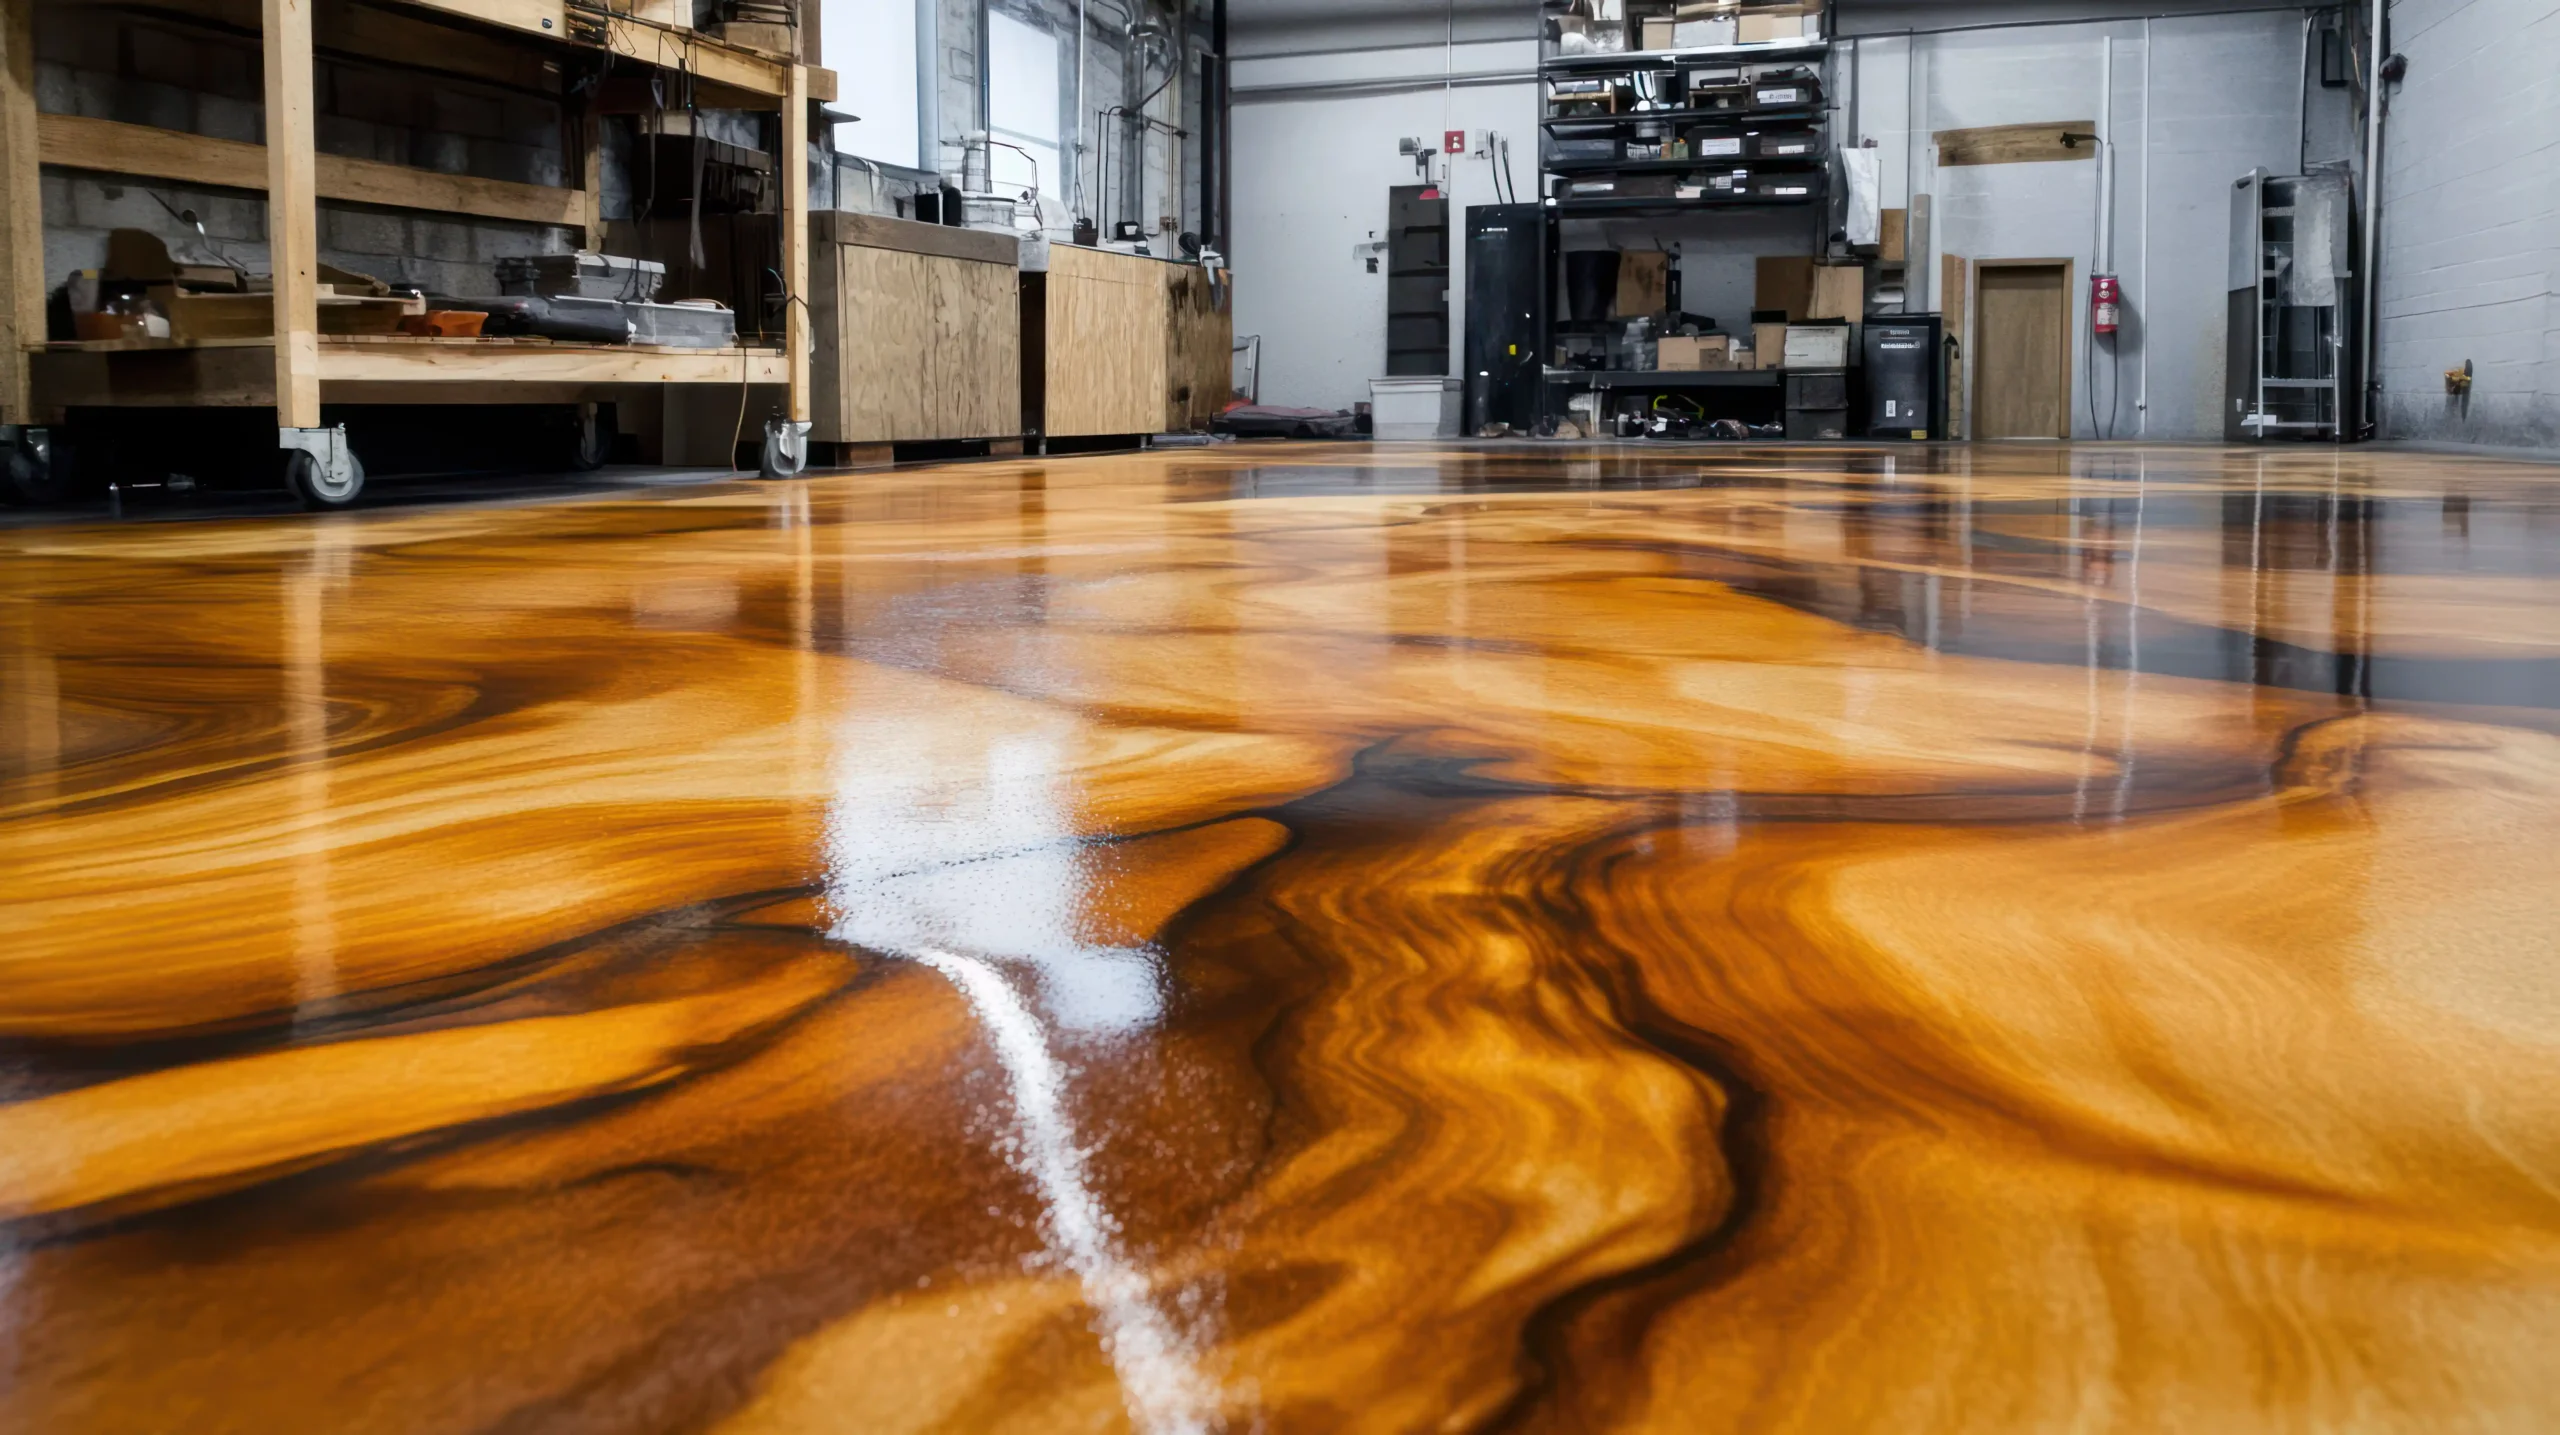
Epoxy floors are a durable and stylish option for any home or business. They shine, they’re easy to clean, and they’re going to last! If you’re planning on installing epoxy flooring, you should know what to expect.
Many people try the installation process for epoxy floors themselves. Others use professionals to guarantee a job well done. No matter what option you choose, knowing each step of the process can be very helpful. This article will teach you how to install epoxy flooring, from preparation through to final coat application.
In the end, you will know exactly the epoxy floor installation process and what to expect, and how to get a great floor that will last:
Step by Step Process for Installing Epoxy Floors
Installing epoxy flooring requires precision, preparation, the right materials, and attention to detail at every stage. From cleaning to applying multiple layers of epoxy, each step is done precisely to ensure a durable, smooth, and visually appealing surface. Here’s the step-by-step process to follow:
Step 1: Preparing the Surface for Epoxy
Preparing the surface is the first and most important step in installing an epoxy floor. If the concrete is not clean or smooth enough, your epoxy will not bond properly. If your epoxy does not adhere well, you may experience peeling or bubbling in the future.
The first step is to clean the concrete. Clear the concrete surface of any dust, dirt, or loose particles to ensure it’s clean and ready for coating. Next, use a cleaner or degreaser to remove any oil or grease stains. A clean surface will help the epoxy bond better.
The next step is to check the concrete for damage. Repair any cracks in the concrete. Use a patching material to fill the cracks and smooth any spots that are uneven. If the cracks are too deep, you can use professional concrete sealing services. This creates a level surface for you to lay over.
After that, you will have to remove former coatings or sealants from the surface. If the floor has paint or a sealant on it, you will have to use either a grinder or a chemical remover. This ensures that the epoxy will bond right to the bare concrete.
Taking time to prepare the surface properly not only improves results but also helps make the most of your epoxy floor installation cost by preventing future issues.
Step 2: Priming the Floor
Next in the process is the flooring epoxy primer. The primer serves as a base layer and assists the epoxy in better adhering to the concrete.
Using a primer will help to fill the fine pores in the floor, so it makes for a more solid connection between the concrete and the epoxy when it cures. If you don’t use a primer, then you may experience some peeling or a shorter duration before the coating wears out, especially if you’re installing epoxy for commercial spaces.
To apply the primer, you’ll simply pour it onto the floor and then use a roller to spread it evenly. Wait for the primer to dry or cure completely before proceeding to the next step.
Step 3: Mixing the Epoxy
A key part of installing epoxy flooring is mixing the materials properly for the best results. Epoxy comes in two parts: the resin and hardener. Before you can use the epoxy, you will need to mix the two parts.
Be sure to follow the instructions closely, since the type of epoxy flooring matters the most. You’ll need the proportions to be accurate and to mix them for the full time indicated depending on the type. If not mixed correctly, the epoxy may harden the wrong way or create an uneven finish.
Once mixed, the epoxy will start to harden very quickly. Be prepared to pour and apply the coating.
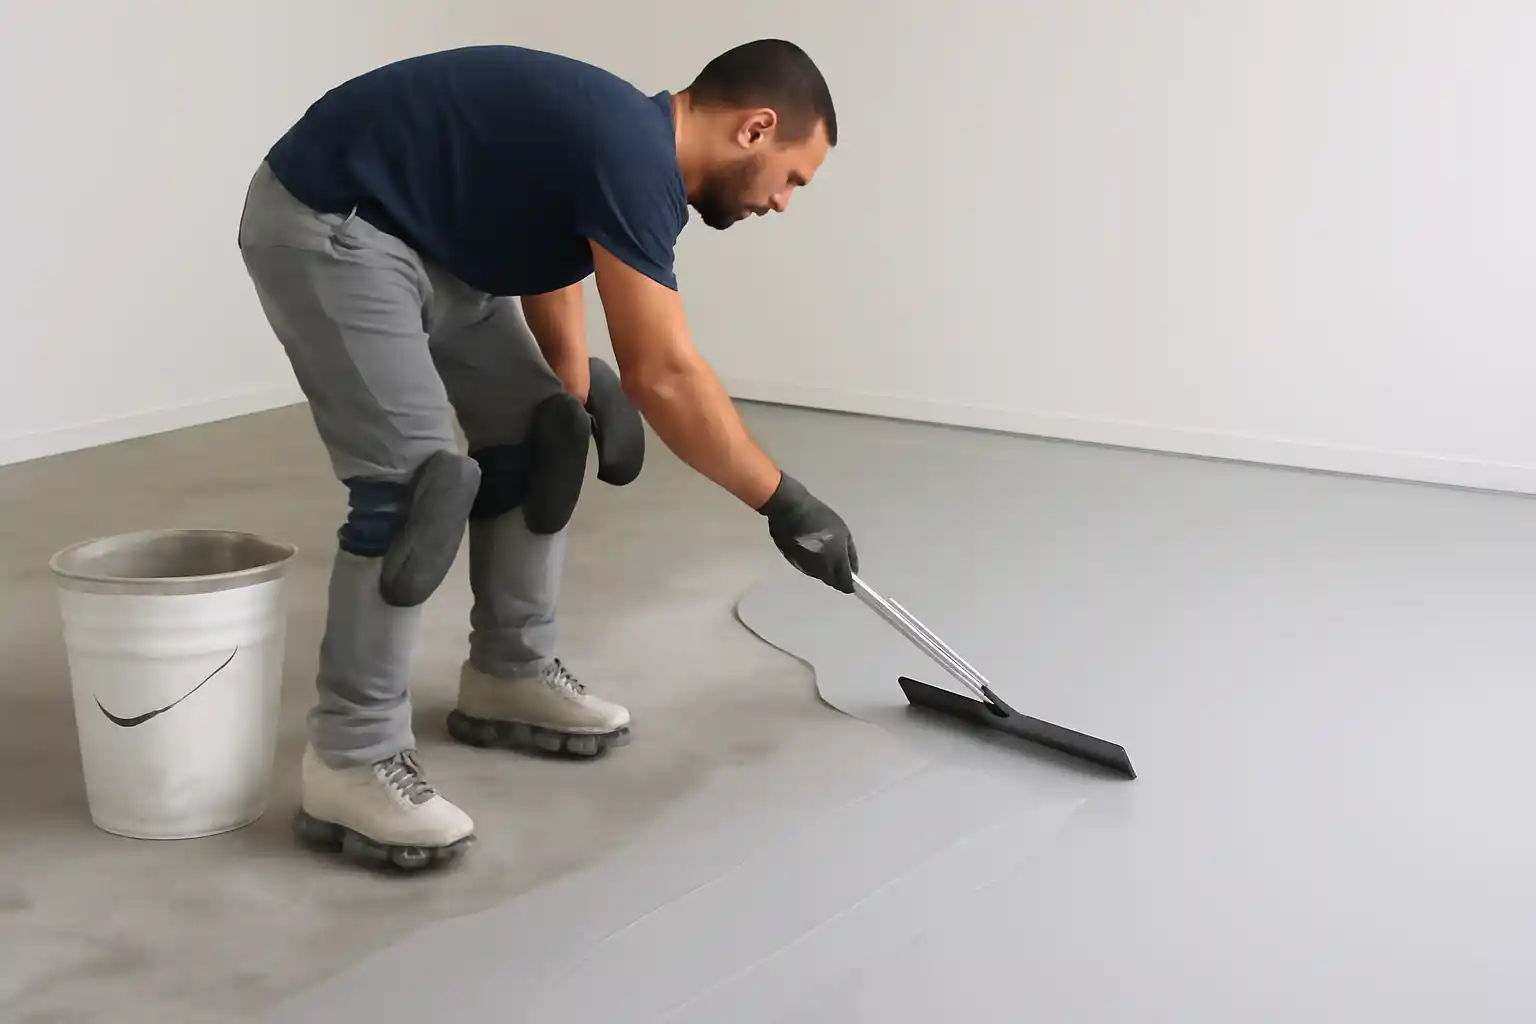
Step 4: Installing the Base Coat
The base coat is the first official layer in the process of installing our epoxy flooring. That’s what is responsible for the most significant benefit of epoxy flooring; it’s incredible durability. Here’s how to install it:
- Pour the mixed, combined epoxy onto the floor and spread it out (in small sections).
- Using your roller or squeegee, spread it out quickly and evenly (as smoothly as possible).
- Take your time, but you want to be careful, as the epoxy will start to set pretty quickly. Just a couple of minutes.
- Make sure that the coat is thin and that you have covered the complete surface of the floor.
- Let the base coat dry fully, which typically takes between 12 and 24 hours, depending on the product instructions.
- This will create a strong layer for your flooring project and a smooth layer for your next coating options.
Step 5: Applying the Topcoat
The last step to installing epoxy floors is to apply the topcoat. The topcoat will be a clear layer that bonds everything together and ensures a smooth, shiny finish when applied.
The epoxy topcoat protects the floor against scratches, stains, and wear to the surface. It will also make the surface wipeable, change the level of sheen, and help the surface last much longer.
To apply the topcoat, pour it onto the floor and spread it evenly with a roller. You will want full coverage of the area poured. Once the top layer dries, your epoxy floor is done and ready for use.
Step 6: Curing Time and Aftercare
After installing an epoxy floor, you need to allow the floor plenty of time to cure properly. This is essential to ensuring the coating hardens and bonds adequately, providing you with a strong, lasting finish.
You can walk on the surface generally after 24 hours, but you will want to wait at least 3 to 7 days before driving or moving heavy items onto the finished floor.
Make sure you keep your clean epoxy floors regularly to make their shine last a lifetime. To help keep your new floor looking fresh with minimal maintenance, consider these simple tasks:
- Regularly clean it with a soft mop or broom
- Wipe spills immediately
- Avoid dragging heavy items across any surface
- Add mats or rugs in high-traffic areas
- Doing your aftercare will keep your epoxy floor installation looking shiny, solid, and beautiful for years to come.
- Also, protecting your floor well helps you get the best value from your epoxy floor installation cost by reducing the need for early repairs or replacements.
Conclusion
No matter if you’re doing epoxy flooring installation on your own or hiring a professional to do it for you, having a general understanding of the process can help you achieve better results. This, combined with proper preparation, careful mixing of epoxy, and post-application care, will lead to success.
If you’re just deciding to upgrade your space to epoxy for the first time, follow a comprehensive epoxy flooring guide to learn the basics, benefits, and types. Between having the right tools and being patient enough to wait for the cure, you will have a long-lasting and beautiful floor that you can enjoy for years to come!
FAQs
How long does epoxy floor installation take?
Epoxy floor installation usually takes 1 to 3 days, depending on the size of the area, floor condition, and number of coating layers. The surface needs time for cleaning, repairs, priming, coating, and drying between each step.
What is the epoxy flooring installation cost
The cost of epoxy flooring installation typically ranges from $3 to $12 per square foot, depending on the type of epoxy, design complexity, and floor preparation needs. High-end finishes and additional coatings can increase the total price.
Can epoxy be installed over old concrete or damaged floors?
Yes, epoxy can be applied over old concrete, but the surface must be properly cleaned, repaired, and prepared to ensure a smooth bond. Cracks, holes, and moisture issues should be fixed first to avoid peeling or failure over time.
How long does epoxy flooring take to dry and cure?
Epoxy flooring usually dries to the touch within 12 to 24 hours, but full curing may take 3 to 7 days, depending on the product and weather conditions. Avoid heavy traffic or placing furniture on the floor until it is completely cured.
Do I need to leave the house during epoxy floor installation?
You don’t always need to leave the house, but it’s recommended to stay out of the installation area due to strong fumes and drying time. For large spaces or entire homes, temporary relocation may be more comfortable and safer.
Can epoxy be applied over tiles, wood, or other surfaces?
Epoxy can be applied over tile, wood, or other surfaces if they are cleaned, sanded, and properly prepped to allow strong adhesion. Surface leveling and priming are crucial for preventing bubbles, peeling, or uneven texture.