

Basement floors often create problems before homeowners even think about upgrading them. Dusty concrete, damp spots, peeling paint, stains, cracks, and difficult cleaning can make the whole basement feel unfinished and hard to use.
For many New Jersey homeowners, the basement has the potential to become a storage area, laundry space, home gym, office, or finished living area. But without the right floor preparation, even a new coating can fail too soon.
That is why understanding the basement epoxy flooring installation process step by step is important before starting the project. A professional epoxy installation is not just about applying a coating. It includes moisture testing, concrete grinding, crack repair, primer, base coat, topcoat, and proper curing.
Key Takeaways
- Moisture testing should be done before installation.
- Concrete grinding helps epoxy bond properly.
- Cracks and weak areas must be repaired first.
- Primer and base coats build the floor system.
- A topcoat protects the finish from wear.
- Professional installation reduces peeling, bubbling, and early failure.
Step 1: Basement Floor Inspection
The process starts with a full inspection of the existing concrete. This step helps identify cracks, stains, old paint, moisture signs, uneven areas, and weak spots. The installer also checks whether the floor has previous sealers or coatings that may affect bonding. For New Jersey basements, this step is especially important because older homes may have hidden concrete issues. A proper inspection helps decide what preparation is needed before the epoxy system is applied.
Step 2: Moisture Testing Before Coating
Moisture is one of the biggest reasons basement floor coatings fail. Even if the concrete looks dry, moisture vapor can still move through the slab. If epoxy is installed over high moisture levels, it may bubble, lift, or lose adhesion. Moisture testing helps confirm whether the floor is ready for coating. If moisture is found, the installer may recommend extra preparation or a moisture-control primer.
Step 3: Clearing and Cleaning the Space
Before surface preparation begins, the basement must be cleared. Furniture, boxes, appliances, loose items, and stored materials should be removed from the work area. This gives the installer full access to the concrete surface. The floor is then cleaned to remove loose dirt, dust, and debris. This first cleaning does not replace grinding, but it prepares the area for proper mechanical surface work.
Step 4: Concrete Grinding and Surface Preparation
Concrete grinding is one of the most important steps in the installation process. Grinding removes old coatings, weak surface layers, stains, and contaminants. It also opens the pores of the concrete so the epoxy can bond properly. Skipping this step is one of the most common mistakes in basement epoxy projects. A floor may look clean, but without proper grinding, the coating may not grip the surface correctly. For homeowners comparing basement floor coating New Jersey options, surface preparation is what separates a long-lasting floor from a short-term result.
Step 5: Crack Repair and Surface Patching
After grinding, cracks and damaged areas are repaired. Small cracks, chips, and low spots are filled with repair materials designed for concrete floors. This helps create a smoother and more stable surface before coating. This step improves both appearance and performance. If cracks are ignored, they may show through the final coating or weaken the finished surface over time.
Step 6: Applying the Primer Coat
A primer helps strengthen the bond between the concrete and the epoxy system. It penetrates the prepared surface and creates a better foundation for the base coat. In basements with moisture concerns, the installer may use a special primer designed to reduce vapor-related problems. Primer is not always visible on the final floor, but it plays an important role in long-term durability.
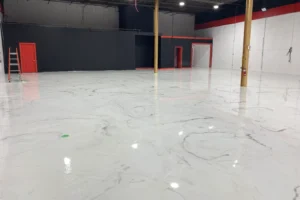
Step 7: Applying the Epoxy Base Coat
The base coat is the main body of the floor system. This layer provides strength, coverage, and protection. The type of base coat depends on the selected system, such as 100% solid epoxy, flake epoxy, or another professional-grade coating. A properly applied base coat helps create a durable surface that can handle daily use, storage, foot traffic, and general basement activity.
Step 8: Adding Flakes, Color, or Decorative Finish
If the homeowner chooses a decorative system, it is added while the base coat is still wet. Flakes are commonly used because they add texture, hide minor imperfections, and improve the finished look. Metallic finishes may be used in finished basements where design is a priority.
Step 9: Scraping and Preparing the Decorative Layer
After the decorative layer cures, the surface is scraped or lightly sanded. This removes loose flakes or uneven texture and helps prepare the floor for the final topcoat. The goal is to create a smooth, controlled surface without rough or weak areas. This step is important for both appearance and comfort, especially in basements used as living areas, offices, or family rooms.
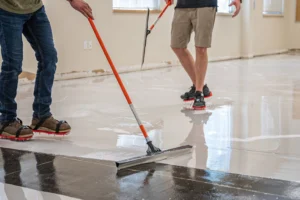
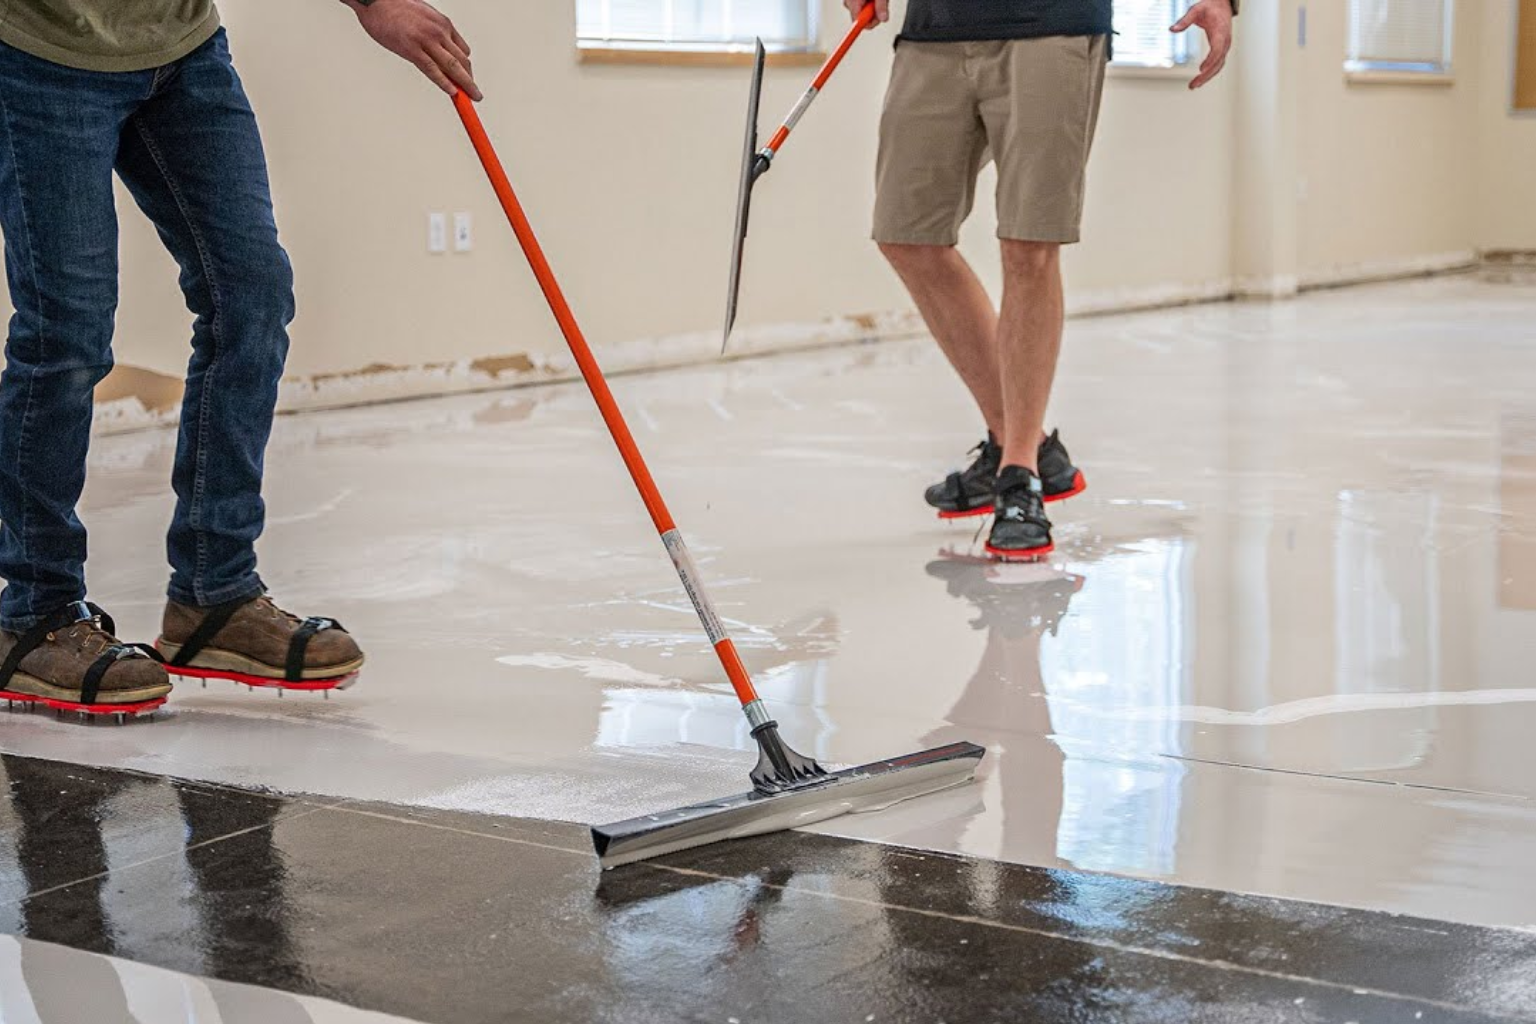
Step 10: Applying the Protective Topcoat
The topcoat protects the entire flooring system. It adds resistance against stains, scratches, moisture exposure, and daily wear. The finish may be matte, satin, or glossy depending on the homeowner’s preference. A strong topcoat also makes the floor easier to clean and helps maintain the look of the surface for years.
Step 11: Curing and Final Walkthrough
After the topcoat is applied, the floor needs time to cure. Curing time depends on the coating system, temperature, humidity, and basement conditions. The floor should not be used too early because early traffic can affect the finish. Once curing is complete, the installer checks the surface, finish, edges, and overall appearance. This final walkthrough ensures the floor is ready for use.
How Long Does Basement Epoxy Installation Take?
Most basement epoxy flooring projects take a few days from surface preparation to the final coating. The exact timeline depends on the size of the basement, the condition of the concrete, moisture levels, required repairs, and the type of finish being applied.
More complex systems may take longer because each layer needs proper time to cure before the next step is applied. This curing time is important for achieving a strong and long-lasting surface. A faster installation is not always better. Allowing each stage to fully complete helps ensure better durability, stronger bonding, and a higher-quality final result.
How Much Does Basement Epoxy Installation Cost in New Jersey?
Basement epoxy installation in New Jersey usually costs $5 to $12 per square foot for most residential projects. A basic epoxy coating may fall closer to the lower end, while flake systems, metallic finishes, heavy surface repairs, or moisture-control preparation can increase the price. Basement epoxy installation cost guides commonly place installed epoxy around $4 to $10 per square foot, with some decorative or prep-heavy projects reaching $12+ per square foot.
A clean and dry basement floor usually requires less preparation, so the cost may stay closer to $5 to $7 per square foot. If the floor has cracks, old coatings, uneven concrete, stains, or moisture concerns, the project may move closer to $8 to $12+ per square foot because extra grinding, repairs, primers, or moisture mitigation may be needed.
Several factors can affect the final price, including basement size, surface repairs, crack filling, concrete grinding, moisture testing, vapor-control primer, decorative flakes, metallic finishes, and topcoat selection.
Homeowners looking for a waterproof basement floor coating or a stronger concrete basement floor coating should also consider whether the floor needs moisture testing or vapor-control preparation before installation. These steps can add to the upfront cost, but they help prevent peeling, bubbling, and coating failure later.
The best way to get accurate pricing is through a professional floor inspection. This helps determine whether the project needs basic coating, basement floor resurfacing, crack repair, or a full epoxy basement coating system.
Common Installation Mistakes To Avoid
Many epoxy floor problems happen because of poor preparation, rushed work, or skipping important installation steps. All of these issues can weaken the coating and reduce its lifespan, leading to peeling, bubbling, poor bonding, or early surface damage.
Some of the most common basement epoxy flooring mistakes include:
- Applying epoxy over damp or moisture-affected concrete
- Skipping proper concrete grinding and surface preparation
- Leaving cracks and damaged areas untreated before coating
- Using low-quality or thin epoxy products
- Rushing the curing process before the floor fully hardens
- Walking on the floor too early after installation
- Placing heavy furniture or equipment on the surface before full curing
- Ignoring basement temperature and humidity conditions during installation
Why Professional Installation Matters
DIY kits may look simple, but basement floors require more care than basic concrete surfaces. Professional installers use proper grinders, moisture testing tools, repair materials, and coating systems. They also understand how basement conditions affect bonding and curing. This matters for homeowners who want a durable floor instead of a temporary coating. A professional process helps reduce the risk of peeling, bubbling, and uneven results.
Epoxy Shine provides professional installation of basement epoxy in New Jersey, helping you avoid major mistakes. We ensure the best installation of epoxy that lasts a lifetime and doesn’t need regular maintenance.
What You Gain From Proper Basement Epoxy Installation
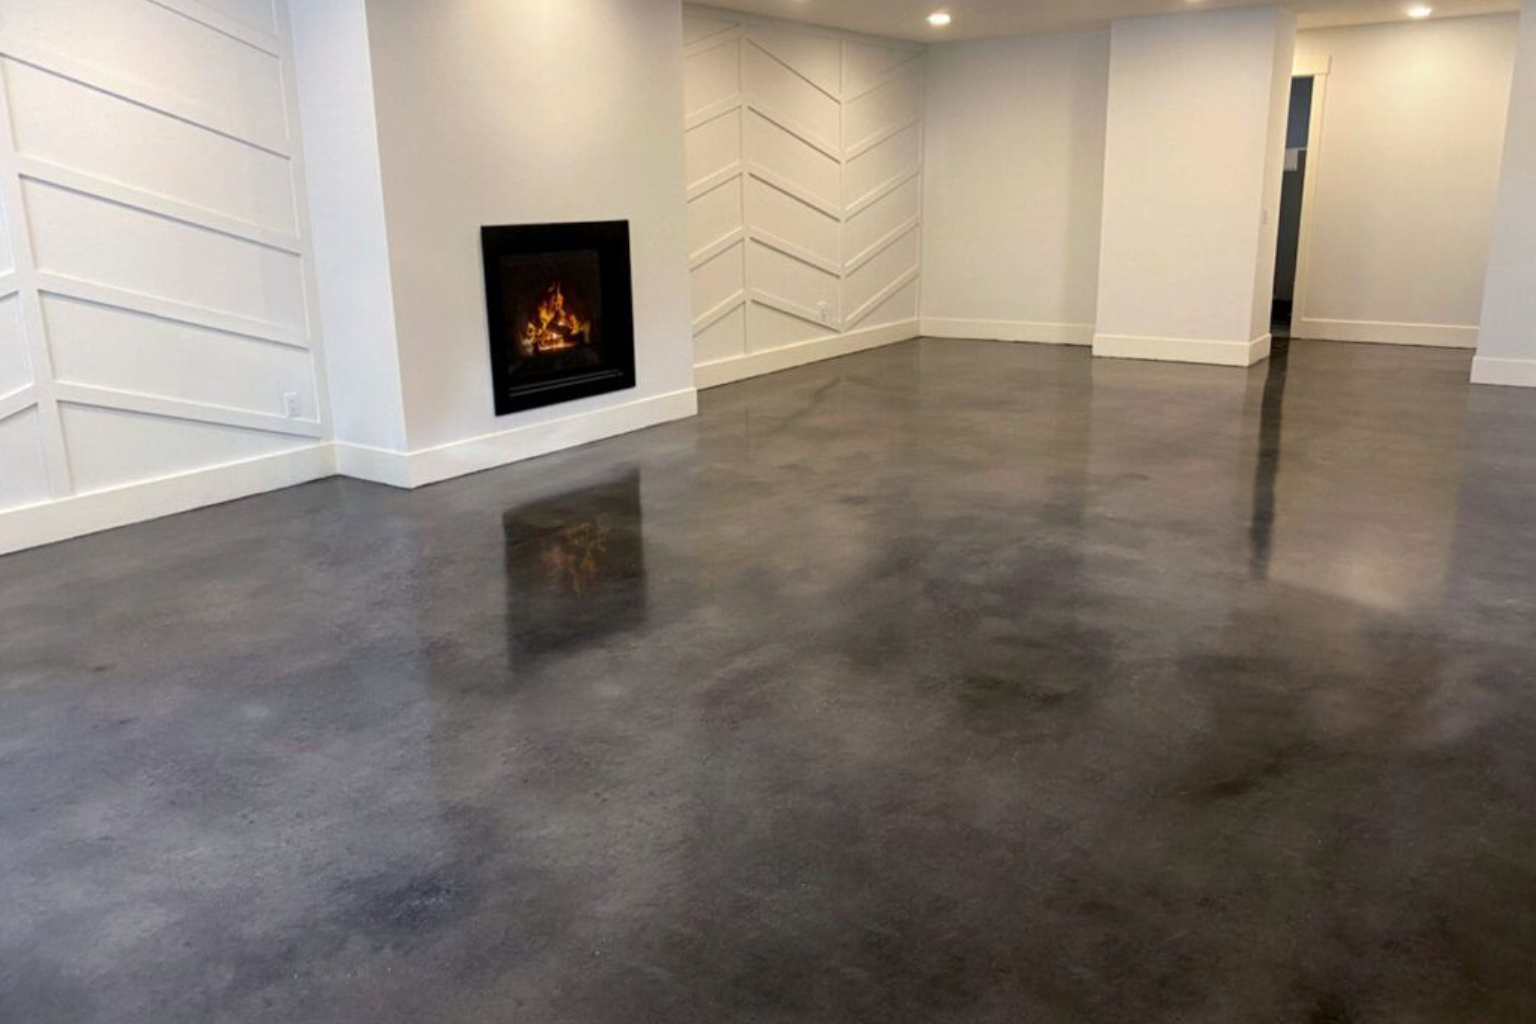
Proper installation gives homeowners more than a better-looking floor. It helps create a stronger and more usable basement surface that can support daily use over time.
When the process is done correctly, epoxy can improve basement floor protection, reduce dust, make cleaning easier, and help the space feel more finished. It also supports better moisture resistance when the concrete is tested and prepared correctly before coating.
This is why each step matters. Inspection, grinding, repair, primer, base coat, topcoat, and curing all work together to create a durable floor system instead of a temporary surface coating.
Conclusion
The basement epoxy flooring installation process, step by step, is important because each stage affects the final result. Inspection, moisture testing, grinding, repair, coating, and curing all work together to create a stronger and longer-lasting floor. When done correctly, epoxy can turn a dull concrete basement into a cleaner, more usable space.
Ready to Start Your Basement Floor Project?
If your basement floor is cracked, dusty, damp, peeling, or difficult to clean, now is the right time to get it inspected. Epoxy Shine helps New Jersey homeowners understand whether their concrete needs moisture treatment, crack repair, basement floor resurfacing, or a complete epoxy flooring system.
Schedule a basement floor inspection with Epoxy Shine and learn whether your concrete needs moisture treatment, repairs, or a professional epoxy installation before small floor problems become more expensive to fix.